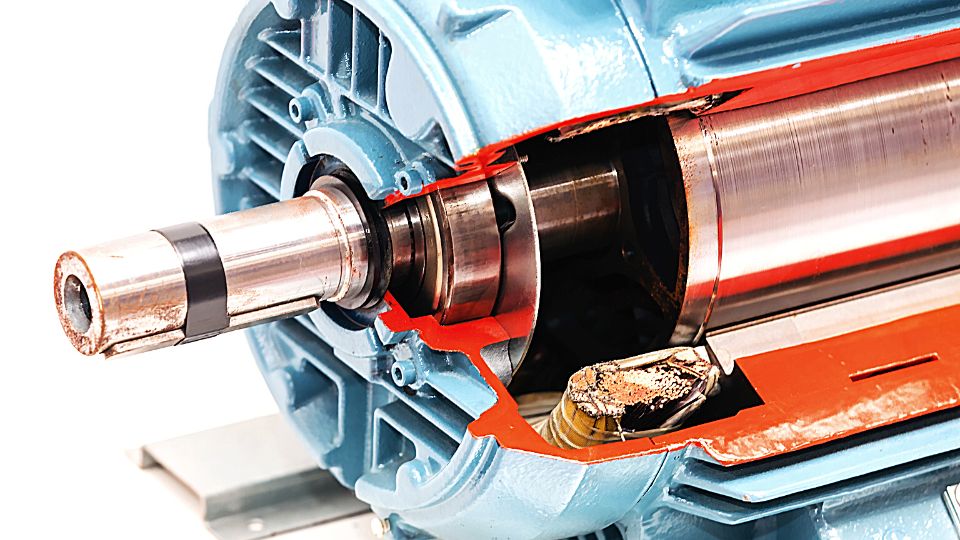
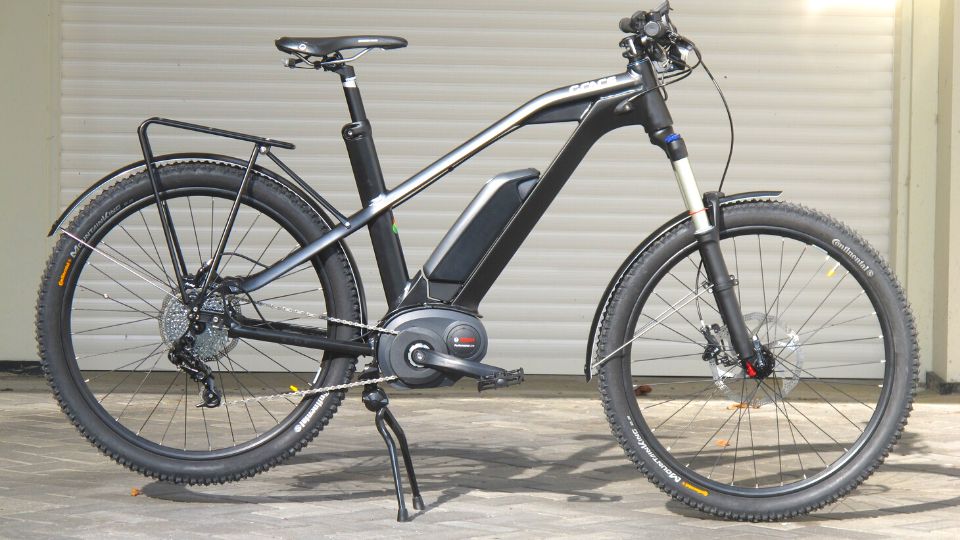
Electric bike hub motors are essential components of e-bikes that require regular maintenance and testing to ensure optimal performance. Regular testing of your e-bike hub motor can help identify any issues and avoid more significant problems down the line.
To test an electric bike hub motor, you can perform resistance, voltage, and load testing. It is important to also visually inspect the motor for damage or wear and ensure that the wiring and battery are properly connected.
In this article, we’ll outline the steps you need to take to test your electric bike hub motor.
Pre-Testing Preparations
Clean the motor
Before testing the motor, it’s essential to ensure that it’s clean. Dirt and debris can accumulate on the motor over time, affecting its performance. Use a clean cloth and some water to wipe the motor clean.
For information on the expected lifespan of electric bike motors and how you can prolong their longevity, take a look at our article that covers this topic in depth.
Check the wiring
Check the wiring connections to ensure they are tight and secure. Loose connections can lead to electrical shorts or other malfunctions.
Check the battery
Check the battery to ensure it’s fully charged. A low battery can affect the performance of the motor.
Ensure the bike is secure
Ensure that the bike is on a level surface and securely fastened to a bike stand or similar device. This will prevent any accidents during testing.
Visual Inspection
Check for visible damage or wear
Inspect the motor for any visible signs of damage or wear such as cracks, scratches, or dents. Pay particular attention to the wiring and connectors.
Ensure that the motor is properly mounted
Make sure that the motor is securely mounted to the frame of the bike. Check the mounting bolts and brackets for any signs of looseness or damage.
Check for loose connections
Inspect the wiring connections between the motor, battery, and controller. Ensure that they are all properly connected and that there are no loose or frayed wires.
Resistance Testing
Resistance testing is an important part of testing an electric bike hub motor to ensure that it is functioning properly. This test measures the electrical resistance of the motor windings and can identify any issues with the motor.
To perform a resistance test, you will need a digital multimeter with a resistance setting. Here are the steps to follow:
- Disconnect the motor from the controller and remove it from the bike.
- Set the multimeter to the resistance setting and zero it out by touching the leads together.
- Connect the multimeter leads to the motor wires. You will need to connect one lead to the positive wire and the other to the negative wire.
- Check the resistance reading on the multimeter. The specific resistance value will vary depending on the type of motor and its specifications. Consult the manufacturer’s documentation for the proper range.
- Compare the measured resistance to the manufacturer’s specifications. If the measured resistance is outside of the expected range, the motor may be damaged and require repair or replacement.
Resistance testing can help identify issues with the motor’s windings, such as shorts or open circuits. It is a simple and effective way to test the motor’s performance and can help prevent more serious issues from occurring.
If you’re interested in converting your traditional mountain bike into an electric one, be sure to check out our article that covers the steps involved in making this modification.
Voltage Testing
Voltage testing involves using a multimeter to measure the voltage output of the electric bike hub motor. This test helps to determine whether the motor is functioning correctly or not. The voltage of an eBike motor can vary depending on the model and manufacturer. However, most eBike motors typically operate on voltages ranging from 24 volts to 52 volts.
To perform a voltage test on your electric bike hub motor, you will need a multimeter. A multimeter is an electronic device that can measure voltage, current, and resistance. You can purchase a multimeter at any hardware store or online.
Step-by-step instructions for voltage testing
- First, make sure that the electric bike is turned off and that the battery is disconnected.
- Set the multimeter to measure DC voltage.
- Locate the wires that connect the motor to the battery.
- Connect the multimeter leads to the wires that connect the motor to the battery. The red lead should be connected to the positive wire, and the black lead should be connected to the negative wire.
- Turn on the electric bike.
- Gradually increase the throttle and observe the multimeter reading. The voltage reading should increase as you increase the throttle.
- Compare the voltage reading to the specifications provided by the manufacturer. If the voltage reading is within the specified range, then the motor is functioning correctly.
- If the voltage reading is outside the specified range, then there may be an issue with the motor, and you should consult a professional for further diagnosis and repair.
Performing regular voltage testing on your electric bike hub motor can help prevent issues and ensure that your bike is running at its best. With the right tools and a little bit of knowledge, you can easily perform voltage testing on your electric bike hub motor.
Load Testing
Load testing involves applying a load to the motor and measuring how it performs under that load. The load can be simulated using a special testing device, or by simply riding the bike up a steep hill.
Tools needed for load testing:
- A fully charged battery
- A multimeter
- A load testing device (optional)
- A steep hill or incline
Step-by-step instructions for load testing
- Begin by fully charging the battery.
- If using a load testing device, follow the manufacturer’s instructions for setting it up.
- Connect the multimeter to the motor to measure the voltage and amperage.
- If using a load testing device, gradually increase the load and record the voltage and amperage readings at each level.
- If not using a load testing device, ride the bike up a steep hill and record the voltage and amperage readings while under load.
- Compare the readings to the manufacturer’s specifications to ensure that the motor is performing properly.
Note that load testing should only be performed by someone with the necessary technical skills and knowledge. If you are unsure how to perform a load test on your electric bike hub motor, consult a professional or the manufacturer’s instructions. By properly testing your electric bike hub motor, you can ensure that it is safe and reliable for your rides.
Interpreting Test Results
There are several tests you can perform to check the functionality of your electric bike hub motor, including resistance testing, voltage testing, and load testing. When performing these tests, it’s important to look for certain indicators that can help you diagnose any issues.
For example, when performing resistance testing, a reading that is too high or too low can indicate a problem with the motor. Similarly, in voltage testing, a reading that is too low can indicate a problem with the battery or wiring.
If you encounter an issue while testing your electric bike hub motor, there are a few common issues that may be the cause. For example, if you find that the resistance is too high, it may be due to a loose connection, worn bearings, or a damaged winding. If the voltage is too low, it may be due to a problem with the battery or a loose connection.
If you are unable to diagnose or fix any issues with your electric bike hub motor, it may be time to seek professional help. A qualified electric bike mechanic will have the experience and expertise to properly diagnose and repair any issues with your motor. Additionally, they may be able to provide regular maintenance to help prevent any issues from occurring in the future.
How can you tell if a Hall sensor is bad?
There are several signs that may indicate a bad Hall sensor in an electric bike motor:
- Motor doesn’t start: One of the most common signs of a bad Hall sensor is that the motor won’t start or is difficult to start. If the motor doesn’t start at all, it may be a sign that the Hall sensor is not detecting the position of the motor’s rotor correctly.
- Motor runs unevenly: If the motor starts but runs unevenly or with jerky movements, it could be a sign that the Hall sensor is sending incorrect signals to the motor controller.
- Motor overheats: A malfunctioning Hall sensor can cause the motor to overheat, which can damage the motor and lead to a shortened lifespan.
- Error codes: Some electric bike systems may display error codes when there is a problem with the Hall sensor. Check the bike’s manual for specific error codes and their meanings.
What happens if Hall sensor fails?
If the Hall sensor on an electric bike fails, the motor may not start or may not operate correctly. The Hall sensor is responsible for sending signals to the motor controller, which controls the power output of the motor.
Without proper signals from the Hall sensor, the motor controller may not be able to adjust the power output correctly, resulting in a loss of power or inconsistent operation. Additionally, a failed Hall sensor may trigger error codes or warning lights on the e-bike display, indicating a problem with the motor or controller.
In most cases, a failed Hall sensor will require replacement to restore proper motor function.
Conclusion
By regularly testing your electric bike hub motor, you can identify potential issues early on and ensure that your e-bike remains in good working condition.
Whether you’re an experienced e-bike rider or a beginner, testing your e-bike hub motor can help you get the most out of your electric bike and enjoy a smooth, comfortable ride.


